
Wood
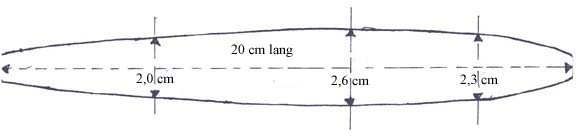
Maple wood, 20 cm long. We use a Moore's Lures Blank (style 2 Rizzo Diver body).
Type Of Lure
Deep diving crankbait.
Necessary Items
- Moore's Lures style 2 Rizzo Diver body
- 3 Screw-eyes (stainless steel)
- 3 Countersink washers
- 3 screws 9-10 mm long
- 1 stainless steel lip, either model D or K from Moore's Lures catalog

Lip D has been bent into shape, as shown in the side view, and it needs a short leader to act as an attachment point for the stainless steel leader.
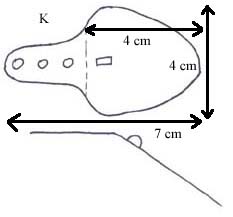
Lip K needs to be bend into shape. To get the shape, place the flat lipon the top view of the stencil. Mark the edge of the bend and bend it with a pair of pliers. Place it on the side view of the stencil to check it.
- Woodrasp or electrical saw
- A pair of pliers (for lip K)
- A screwdriver
- 3 Mustad roundbend hooks size 2/0
- 3 small splitrings
- A piece of stainless steel strand wire with a diameter of 1,5 mm and 10 cm long.
- A large splitring (if you use the model K lip)
- 2 Component glue
- Drill-bit with a diameter of 1 - 1,5 mm, depending on the diameter of the screws
Note
We will use lip D in this explanation. The entire explanation is identical for lip K, exept that we don't bend a short leader but we add a large splitring.
Weight
The Divani Rizzo Diver weighs 80 gr.
The Buildingprocess, explained step by step
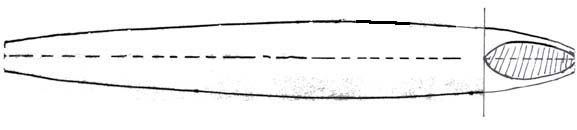
Take an electrical saw and fise this lureblank in a vice. Look at the side view and the belly view below and saw out "the chin" or use a woodrasp to shape it. It's surface is flat.
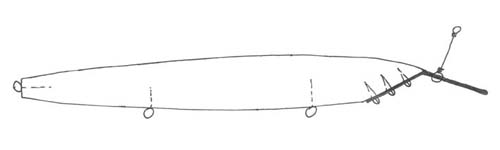
Side view

Belly view
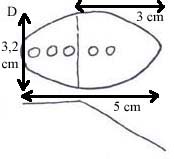
The striped shape is the surface of the chin. Now you need to draw a line that seperates the chin in two equal parts.
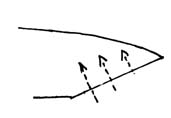
Take the lip and position it on the chin so the front extends beyond the nose of the lureblank. Make sure the 3 holes, wich are pre-drilled, for the screws are positioned on that line. Use a pin or a screw to puncture a small hole where the pre-drilled hole for the screws is positioned. Use a drill-bit with a diameter of 1 - 1,5 mm and pre-drill the 3 holes for the screws.

Now it's time to paint and laquer the body. After the lure's coating has fully hardened it's time to screw in the three screw-eyes. First add a countersunk washer to the shaft, smear a little epoxy glue on the shaft and carefully screw it in the lure blank (pre-drilled holes).
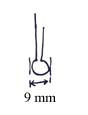
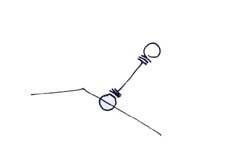
To finish this crankbait we still need to bend a short leader to act as an attachment eye for your crankbait. Suppose the 2 holes wich have been predrilled in this lip, are about 8 mm apart  (measured from the center of each hole). The eye wich you will have to bend for attaching the leader to the lip will have to be slightly wider. In this case 9 mm.
Bend the eye and stick both ends through the 2 predrilled holes in the lip.
Close the eye and turn 2 - 3 wrappings.
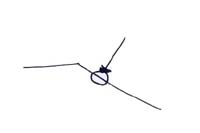
Leave a shaft of 3 - 4 cm and bend another eye.
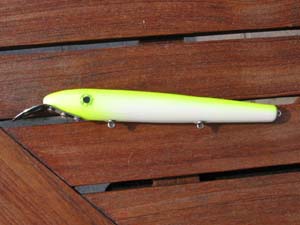
All that remains to be done is attaching the lip to the crankbait body. Smear a little epoxy glue on the chin and position the lip over the 3 pre-drilled holes for the screws. Add a bit of epoxy glue to each screw and use a screwdriver to screw these screws in the lurebody, fixing the lip in place. Use some cloth to wipe away the glue that flows from underneath the lip when you tighten the screws. By now your lure will look like this: